How to Grow Garlic
(So You Never Have to Buy Garlic Again)
This article covers how to select garlic cloves for planting, how and where to plant, and how to harvest and cure it. We also have a handy dandy, one-of-its-kind calculator to help you figure out exactly how many bulbs you’ll need to buy to get started on a cyclical garlic growing journey that will make it so you never have to buy garlic again.
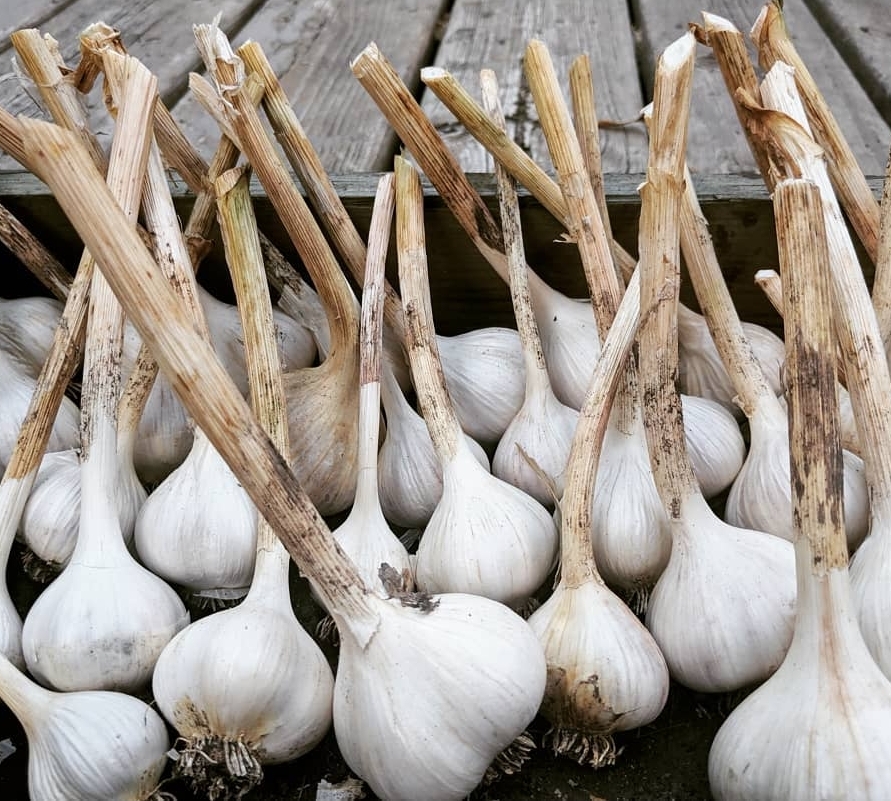
Garlic was the first thing I grew enough of to get my family through an entire year. It’s easy, largely hands off, and totally worth the space in your garden.
Step 1: Get “Seed Garlic”
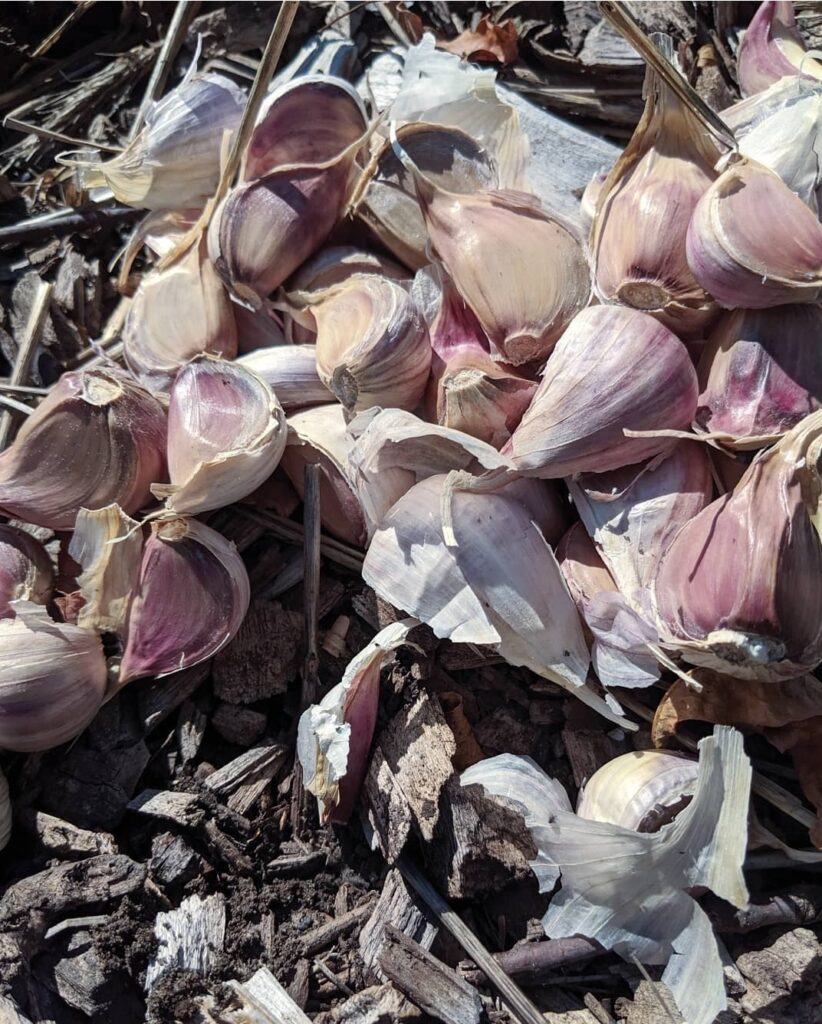
“Seed Garlic” is just garlic cloves that you intend to plant instead of eat. You can buy garlic bulbs at the grocery store and plant the cloves, but there is a chance that the garlic won’t sprout because of the use of an anti-sprouting agent (Clorpropham) that prolongs shelf life. Organic garlic may sprout more readily, but there are organic anti-sprouting compounds in use, too. You also may not be able to determine the variety of garlic you’re getting from the grocery store, and variety is something you should select based on your growing conditions.
If you buy seed garlic from a garlic farm, it typically comes available for online ordering in August. Just like pouring over seed catalogues in Spring, you can dive into the world of flavours, colours, and storage ability. If you’re worried that the cost of seed garlic makes it not worth growing, think again – the goal in garlic growing is to plant enough every year to eat AND replant. You should only have to buy seed garlic once, if you do your calculations right (keep reading to find the calculator so you don’t actually have to do any calculations).
Choose a Variety
The first thing to choose is whether to grow a hardneck or softneck variety. Hardnecks have hard stalks (and are the kind that send up a flower stalk, or scape, that can be eaten). Softnecks have soft stalks (and are the kind you may have seen braided together in a garlic braid).
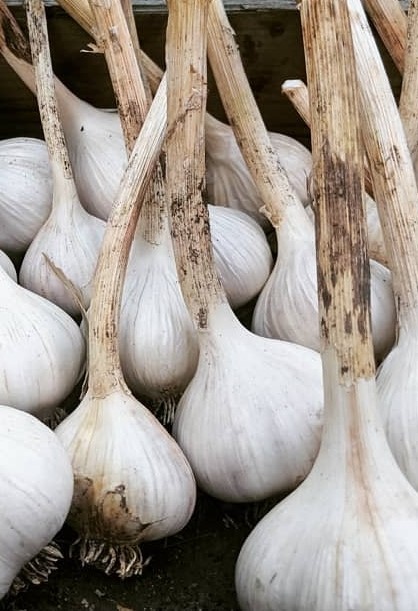
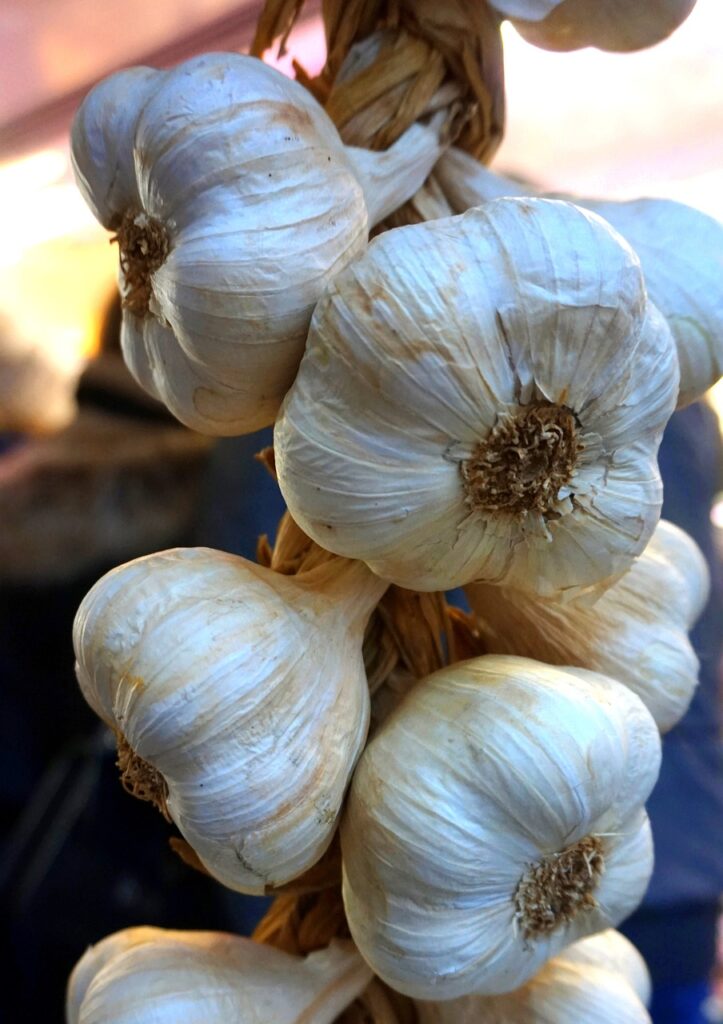
We grow mostly hardneck garlic because it’s more cold hardy. However, with the climate warming and our winters becoming more mild, we can now grow certain softneck varieties successfully in parts of Canada. Softneck garlic stores better than hardneck (it can stay fresh in your cellar for 9 to 12 months), but it can be trickier to peel, has smaller cloves, and doesn’t produce the delicious scape. Hardneck garlic is easier to peel, tends to have large cloves, is very cold hardy, and lasts in your cellar for about 6 months (although we’ve had it last for 8 months pretty reliably). Within the softneck and hardneck families there are many varieties to choose from that differ in flavour, spiciness, colour, and size. The choice is yours.
How Much Garlic to Plant
If you want to grow enough garlic to eat for the year AND enough to plant to do it all again next year, you have to do some calculations.
We created a handy dandy calculator to tell you exactly how much seed garlic you’ll need to order to ensure you’ll never have to buy garlic again.
To use the calculator, you’ll just need to know what kind of garlic you want to grow. Different varieties have different numbers of cloves per bulb, and you’ll need to input the average number of cloves per bulb into the calculator. We’ve included some of the common types of garlic as reference. If you’re growing a different variety, just search online for the average number of cloves per bulb in your variety.
HARDNECK Porcelain – 5 cloves
HARDNECK Marble Purple Stripe – 7 cloves
HARDNECK Rocambole – 10 cloves
SOFTNECK Transylvanian – 10 cloves
SOFTNECK Italian – 12 cloves
Garlic Planting Calculator
Step 2: Plant
Choose garden space that gets at least 6 hours of sun per day. While garlic will grow and survive in part shade, it grows faster and larger the more sun it receives. Garlic isn’t all that fussy about soil type, but make sure it’s not growing in a soggy space with poor drainage. You can grow garlic in sandy, loamy, or clay soils, as long as you add organic matter (or compost) to help the plants grow big and strong.
Before you can plant, you have to separate the bulb into individual cloves. Leave as much of the papery layers on the cloves as possible, as this protects them from rotting in the ground. Plant cloves with the pointy side up – roots will sprout from the wider end. Planting depth should be approximately 3 to 4 times the length of the clove, or about 3 inches deep. Don’t worry about cracking out the ruler. Garlic is resilient.
Finally, plant each clove about 4 to 6 inches apart.
Timing
The best time to plant garlic will depend on your specific climate, but if you live in an area that gets frost, plant after your first frost. The ideal timing is when nights are consistently at or below freezing and days are around 5-10 degrees celsius (40-50 degrees Farenheit). For us, that’s around mid-November (we used to plant in October years ago, but the climate is warming).
The growth we want to happen in the Fall is primarily in the root system. It’s OK if your garlic sends up a little green shoot before entering winter dormancy, but it may get nipped back by the cold and have to start regrowing again in the Spring. If you do see green shoots growing before winter sets in, add some mulch in the form of dried leaves or straw to help protect them.
Step 3: Harvest and Cure
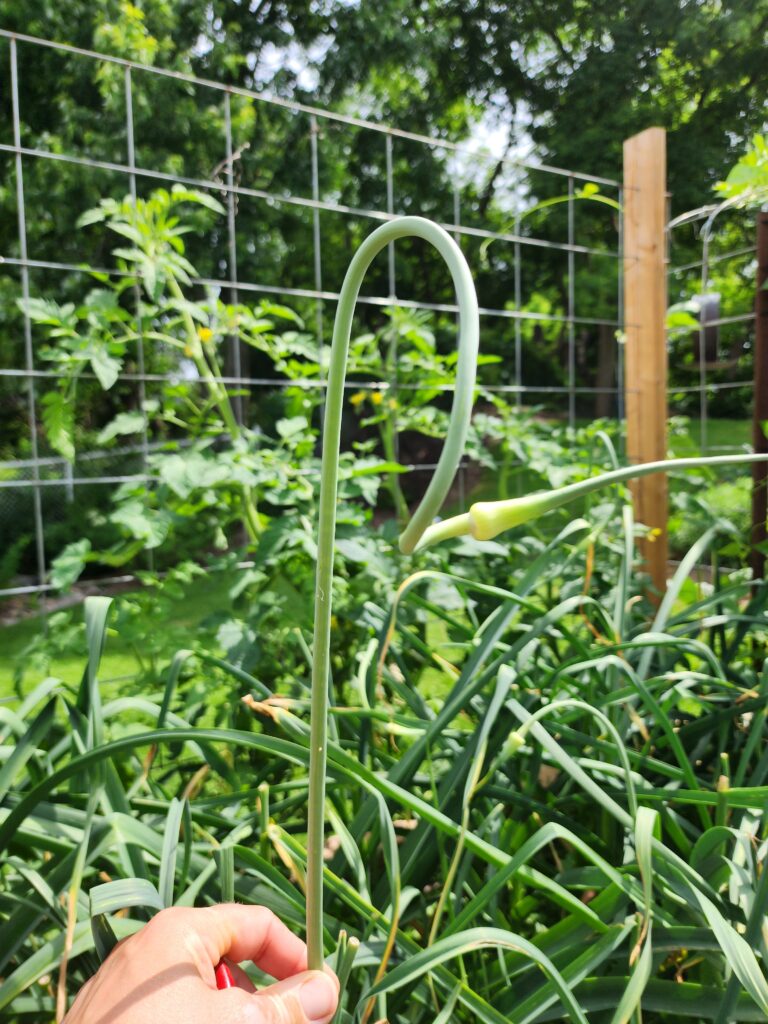
The first thing you’ll harvest – if you’re growing a hardneck variety – are the scapes. These are the immature flowers that come up in a looping, slender stalk. The scape is ready to harvest when it has made one full loop (this is a flexible guideline). Pick them like you would a flower – just pull, break, or cut off the scape where it emerges from the top of the plant.
For any variety of garlic, harvest when the leaves start turning brown and dying back. Generally, two sets of dried up leaves (they start drying from the bottom of the plant first) means the garlic is ready. For reference, in hardneck varieties the bulbs are ready about one month after the scapes are harvested.
Unless your soil is extremely loose and fluffy, use a garden fork or shovel to loosen the soil. Be careful not to impale any bulbs, or they won’t last in storage. Lift out the bulbs by the stalk and gently shake off extra soil. The outer papery skins around the bulb should be intact, not peeling away. If the garlic is left in the ground too long, the cloves will start to separate. Garlic in this state will not last in storage. If you find your timing was slightly off, the worst thing that will happen is slightly undersized garlic (too early) or cloves that you’ll need to preserve in a more hands-on way like freezing or drying (too late).
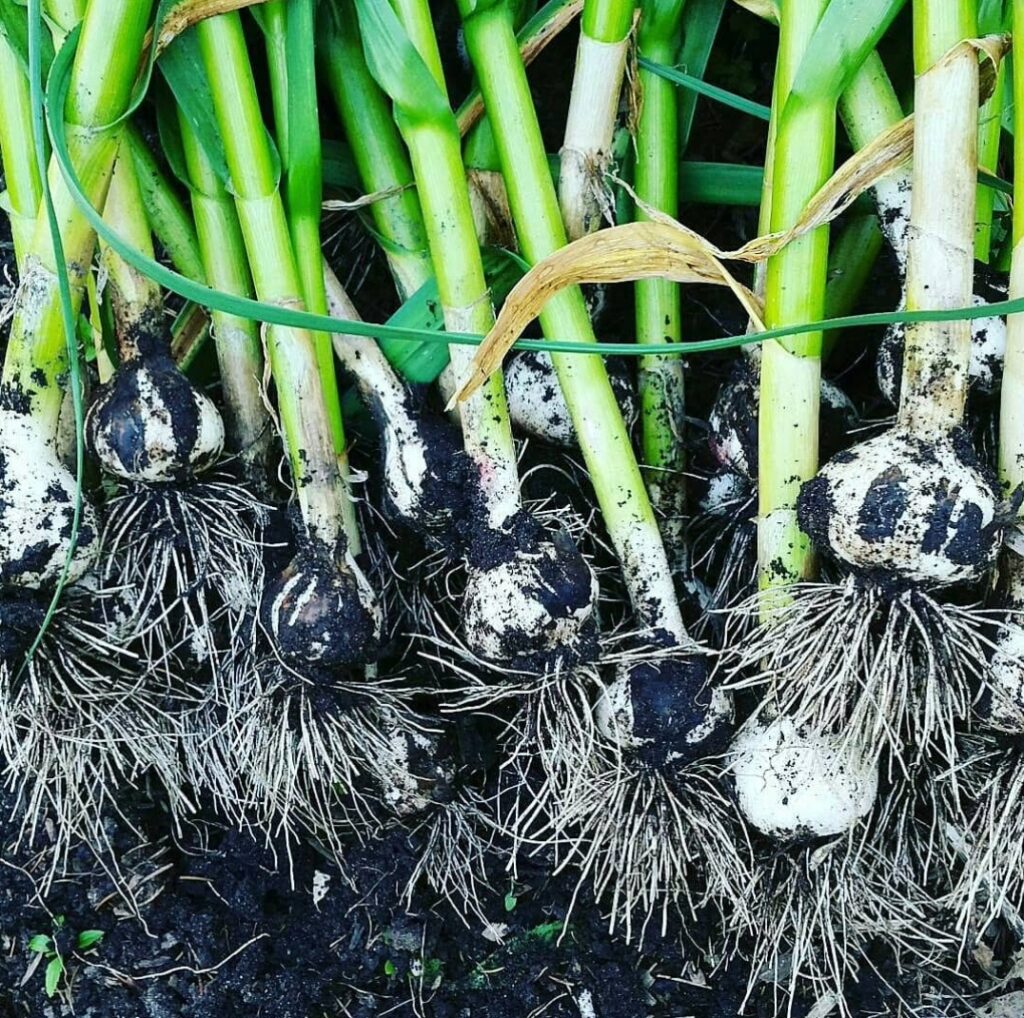
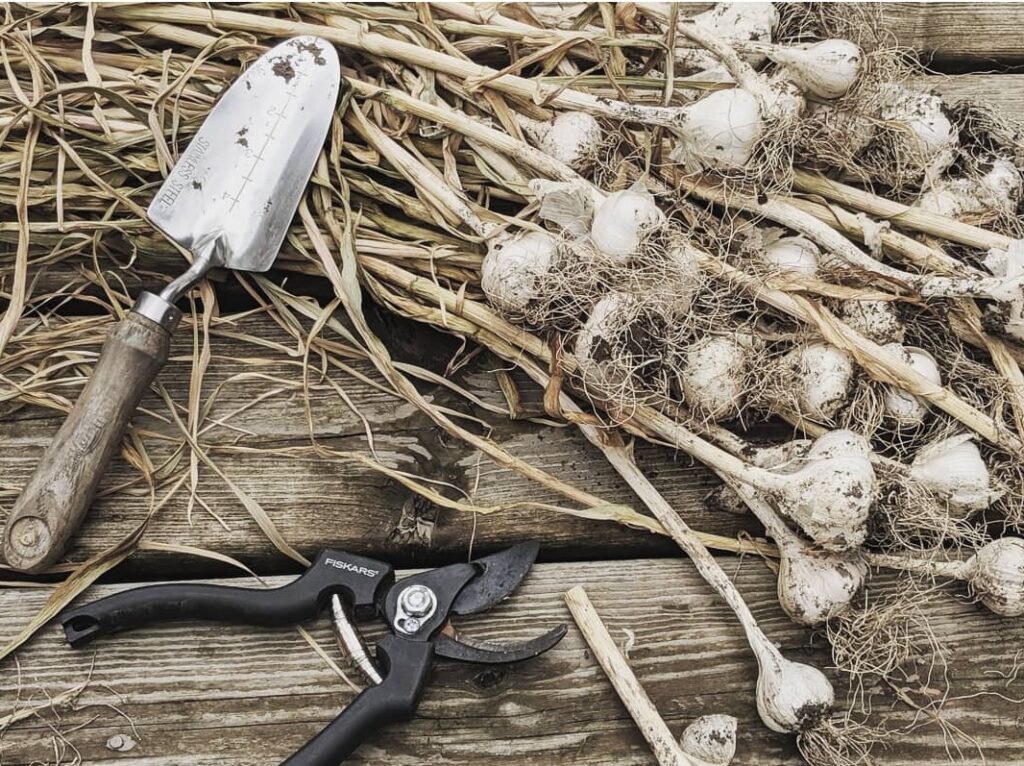
Your bulbs will be damp when you first pull them from the ground, and it takes about two weeks (depending on surrounding humidity) for them to dry fully. Your harvest should spend that two weeks in a well ventilated, covered space THAT IS NOT INSIDE YOUR HOME. The smell of fresh garlic is intoxicating in small doses, but it will quickly overpower an enclosed space. We’ve cured under a porch overhang, in a shed, and in a garage. The porch yields the quickest results because of the stellar airflow, but if you’re putting it somewhere without walls, be sure that rain doesn’t fall on it. Most importantly, spread them out so they aren’t overlapping. It best to dry them on a drying rack (metal shelving will do well) or by hanging them.
To store garlic for the longest shelf life, store garlic in a cool, dark place, and in a mesh bag or wire basket to allow continued airflow. The ideal temperature for storage is between 10 and 20 degrees celsius (but right in the middle of that range is best, if possible, with moderate (40-60%) humidity. Many basements provide an ideal climate, and a cold room could be even better.
Be prepared to do something with your uneaten garlic once you notice it start to sprout or shrivel up inside the papery casing (anywhere from 6-12 months after harvest). We like to roast it in large batches and freeze the roasted cloves, or dry the peeled cloves and grind it into garlic powder. If you’re lucky, you’ll have fresh, juicy cloves coming out of the ground again before you’ve had a chance to miss it.
